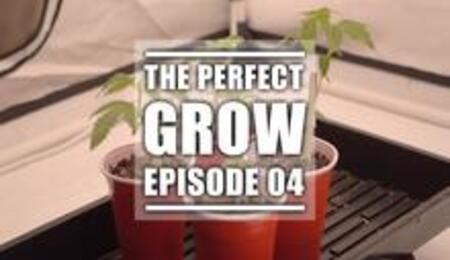
In the fourth instalment of the Soft Secrets "Perfect Grow Series," Pro-Grower Drew Anger takes us through the germination of a seed. In Drew's own words, when growing cannabis, a lot can go wrong, and one of the tops of that list is germinating seeds. Of course, there are many ways to germinate seeds, but Drew's paper towel method is one of the most popular.
Grab 3 or 4 paper towels, wet them under a tap, then fold or quarter them and lay them on a plate. Now lay out your seeds on the plate, giving space between each one. When this is done, wet another pad of paper towels and place it on top of your seeds. Place another plate on the top and then leave your seeds in a dark room temperature environment for 3 or 4 days until they have germinated. Check your seeds once daily to look for any signs of roots emerging, and ensure the paper towels have not dried out. If they have, spritz with a water spray bottle.
After a few days, the tap roots should be clear to see. However, it's essential to know that not every cannabis seed will germinate. For this reason, always germinate more than you need so that you can choose from the best. For example, you should germinate eight seeds for a four-plant grow. The better quality of the seeds you buy (From RQS, for example) then, the better your germination rate will be.
Once the tap (main) root is about 1 cm long, your seed is ready to be planted. Plastic party cups are the perfect size to house your newly sprouted seeds, always remember to poke a hole in the bottom for drainage. Next, fill your cup up with your medium of choice. In the video, Drew is using "Light Mix Soil". An airy medium that gives your plants all they need at this early stage.

Next, poke your finger into the soil in the middle of the cup, making a perfect hole for your seed. Before you plant your seed, add an organic inoculant such as mycorrhizae to the hole. Mycorrhizae is excellent for building solid roots and helping the plant take up as many nutrients as possible. Now gently place your seed in the hole root end first and gently cover it with roughly 1 cm deep soil. Add a splash of water to wet the ground through, but don't go crazy and thoroughly drench it, as your seed still needs access to the pockets of oxygen in the soil; otherwise, it can drown.
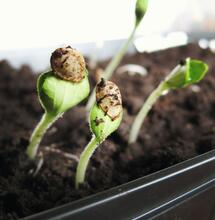
Next, you should put the cups into a high dome propagator. Make sure to spray the inside of the propagator with water, as this will help create humidity within your propagator's mini climate. Next, pop the propagator in the tent and set your lights to about 30% power. Any hotter than this, and you risk your burning your delicate seedlings.
It's a great idea to position your propagator on a tray or stand so that they are not sitting on a cold floor which could inhibit seed development. After just 24/48 hours, you should start to see your seedlings break through the soil's surface.
Check on your seedlings and spritz the inside of the propagator once or twice a day to keep humidity levels up. If the soil looks dry, add another splash of water every few days. After the first 48 hours or so, if your seedlings have started to sprout, you can open the vents on your propagator a little each day until they are fully open. Then you can lose the dome lid entirely as you acclimatise your seedlings to the open air.
These seedlings will need an additional seven days or so, and then you will need to think about transplanting them into bigger pots. That will be covered in the following video, where we will look at what nutrients you should feed your plants and the best soil to use.
By subscribing to the Soft Secrets Channel, you will never miss a "Perfect Grow" video or re-cap on the videos previous to this one. Check it out now.
YouTube Link: https://youtu.be/mfTOpzbOWY4
